This guide provides a step-by-step process to update user accounts, prescribed lists, and resources in Snapplify Engage, ensuring a smooth transition to the next academic year. The entire process should take under an hour.
In order to do this, you'll need to have the Teacher user role assigned to your Admin user, so that you have access to groups. Here's how to assign and edit user roles in Engage.
TABLE OF CONTENTS
- Step 1: Groups
- Step 2: Updating prescribed lists
- Step 3: Disconnecting old prescribed lists and resources from groups, and connecting updated prescribed lists
Step 1: Groups
To rename a group to the following curriculum level and year:
- After logging in to Engage, navigate to the settings section in the top right-hand corner of your screen.

- On the left-hand side of your screen, navigate to 'User Groups'.

- Find the relevant group (e.g. ‘Grade 6 2024’) and select it.
- On the specific group page, select ‘Edit’ at the top of the screen.
- Update the name (e.g. ‘Grade 6 2024’ becomes ‘Grade 7 2025’) and description (if relevant) then click ‘Save’.
- If you are changing the Group name from Grade 6 to Grade 7 ensure to update the 'Curriculum Level' as well.
If a user hasn’t moved to the next curriculum level, remove them from their current group and add them to the previous year’s group.
To archive existing groups:
- In Engage, navigate to the settings section.

- On the left-hand side of your screen, navigate to 'User Groups'.

- Find the relevant group (e.g. ‘Grade 12 2023’) and click its name.
- On the specific group page, select ‘Archive’ at the top of the screen. When asked if you’re sure you want to archive, click ‘Yes’.
Archived groups are not deleted. You can unarchive them later if needed. To view archived groups, go to the 'Archived' tab in the User Groups section.
Step 2: Updating prescribed lists
To update prescribed lists:
- In Engage, navigate to the store by clicking 'Textbooks' at the top of your screen.

- On the left-hand side of your screen, navigate to 'Prescribed Lists'.

- Find the relevant prescribed list and click the title. You may need to navigate to the "published tab" to see your existing lists, or if you have already started edting these may be in "unpublished"

- On the specific prescribed list page, review the titles that have been added to that list.
- Select the titles that you wish to remove from the prescribed list using the checkbox on the left, then click the red ‘Remove Titles’ button.

- To add new titles to your prescribed list, select the green ‘Add Titles’ button. Browse the list of titles and add titles to the prescribed list by selecting the green + symbol next to each book and clicking 'Yes' when asked if you want to add the selected title.

If necessary, you can also set up a new prescribed list.
Step 3: Disconnecting old prescribed lists and resources from groups, and connecting updated prescribed lists
To update the links to your prescribed lists and resources for groups:
- In Engage, navigate to the settings section.

- On the left-hand side of your screen, navigate to 'User Groups'.

- Find the relevant group (e.g., ‘Grade 7 2024’) and click on its name.
- On the specific group page, review the resources and prescribed lists that have been assigned to that group. If these are specific to the previous academic year, these may no longer be relevant to this group as they progress to the next year.
- Select the resources and prescribed lists you wish to remove from the group using the checkbox on the left, then click the red ‘Remove’ button.
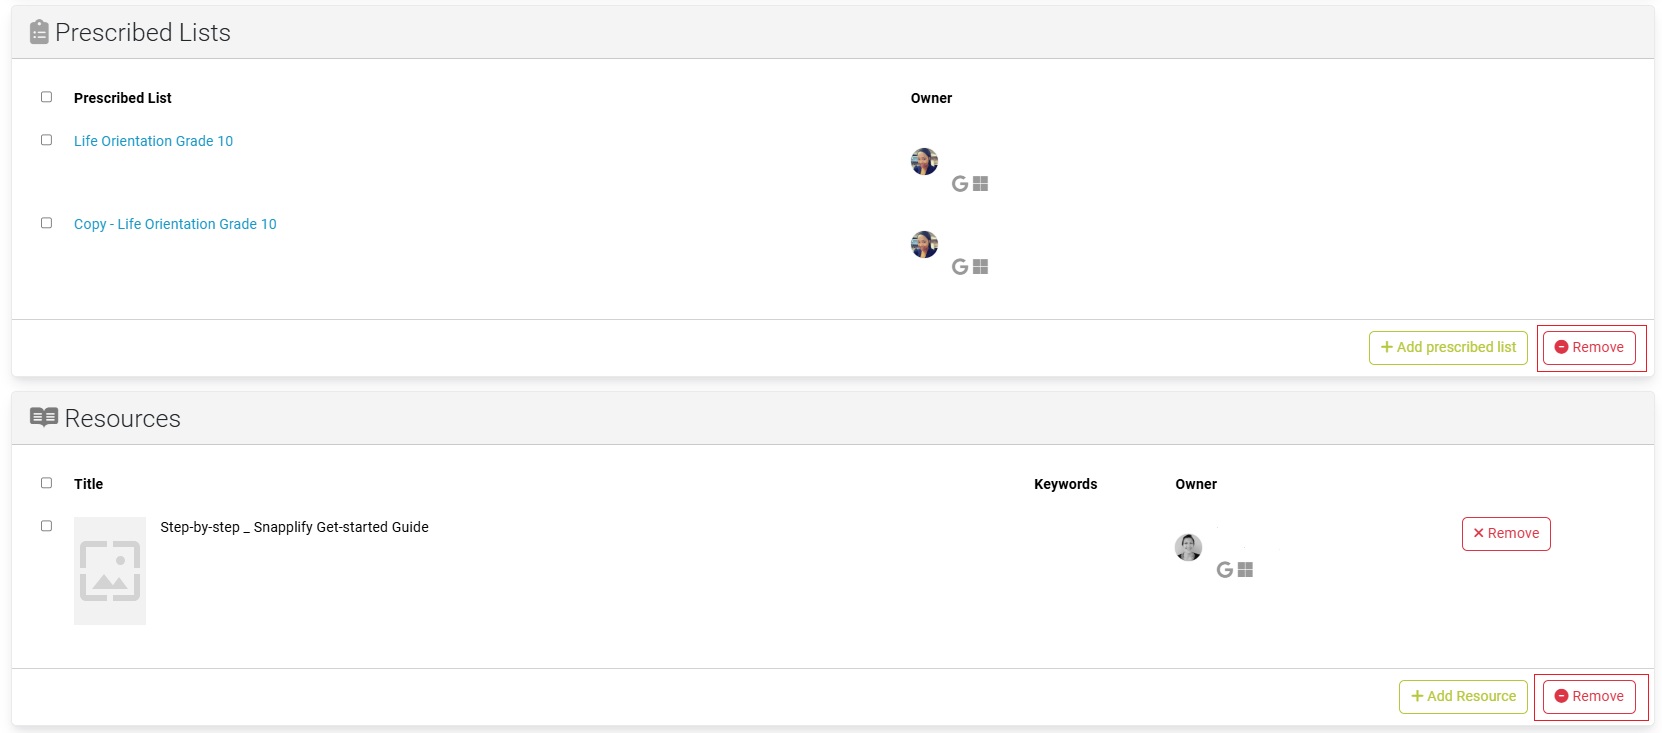
- Add the new prescribed list for the following year by clicking the green '+ Add prescribed list' button. Type in the name of your prescribed list and select the correct one from the drop-down menu. Then click ‘Save’ to confirm your choice.
- Add any new resources for the following year by clicking the ‘+ Add Resource’ button. Type in the name of your resource and select the correct one from the drop-down menu. Then click ‘Save’ to confirm your choice.
Learn more about bulk textbook orders – from setting up prescribed lists to finalising an order and making payment.

Would you like more detail on how to manage your end-of-year rollover? You can sign up for our free short course on Teacha! Inspire here. Simply log in with your Snapplify credentials and get started.
Need help? Use the live chat in the bottom right corner of your screen. Email us at help@snapplify.com or reach out via Whatsapp +27 60 011 8065.